Noob’s install guide to Apache CloudStack4.2 management server with XenServer 6.2 using Xen-In-Xen
Apache CloudStack is one of the many Cloud Computing “stacks” such as OpenStack, Eucalyptus that is available to end user that provides a computing framework to create a Private Cloud (or Public Cloud), provisioning and managing massive amount of VirtualMachines (VM) as a service provider of Infrastructure As A Service (IaaS). On top of that, it works off many types of VMM (Virtual Machine Monitor) aka Hypervisor; for example KVM, XenServer, VMWare.
Just some historical trivia, Apache CloudStack 4.2 is the open source cousin of Citrix CloudPlatform. Both of them stemmed from the same code based but there are some differences, especially Cloud Computing at the enterprise level. One particular specimen is the CloudPortal running off CloudPlatfrom that behaves as a billing gateway, and utility & resource management dashboard. End user that could life without commercial technical support will be happy with the open source variant.
My earlier post gives a generic overview of cloudstack4.2 with XenServer 6.2 using Xen-In-Xen. Xen-In-Xen is a unique feature in XenServer6.2 where a hypervisor exist in the hypervisor that operates off the computing hardware. One important point to note: CloudStack4.2 management server (CSMS) cannot co-exist with the resource pool within the same Xen-In-Xen hypervisor. In other words, Cloudstack4.2 management server should exist in a separate Xen-In-Xen hypervisor separate from the hypervisor to host the VMs’.
In this install guide it assumes the following
- CloudStack4.2 management server on CentOS
- XenServer 6.2 Xen-In-Xen; alternatively a standalone CloudStack4.2 management server with a separate Xen Server 5.2 works too.
Several resource constraints need to be addressed for CSMS prior to setting up.
- NFS is the default file system used in CSMS for keeping the images and snapshots of the VMs; other alternatives such as AWS S3, Cisco UCS, SolidFire are supported too. As per the default case where the NFS co-exist within the CSMS, the HDD capacity of the CSMS needs to be large to hold the variety of VM images.
- MySQL database co-exist in the CSMS as per the default case. Therefore, the HDD capacity needs to be taken into consideration.
- If more than one VLAN is used for CSMS and the VMs, the Switch and Router need to be configured to allow routing between the VLANs.
- CSMS uses ACL, so IP addresses used with CSMS need to be pre-determined.
- Hostnames need to be configured if use.
- Default file editor is vi, otherwise install tools such as nano.
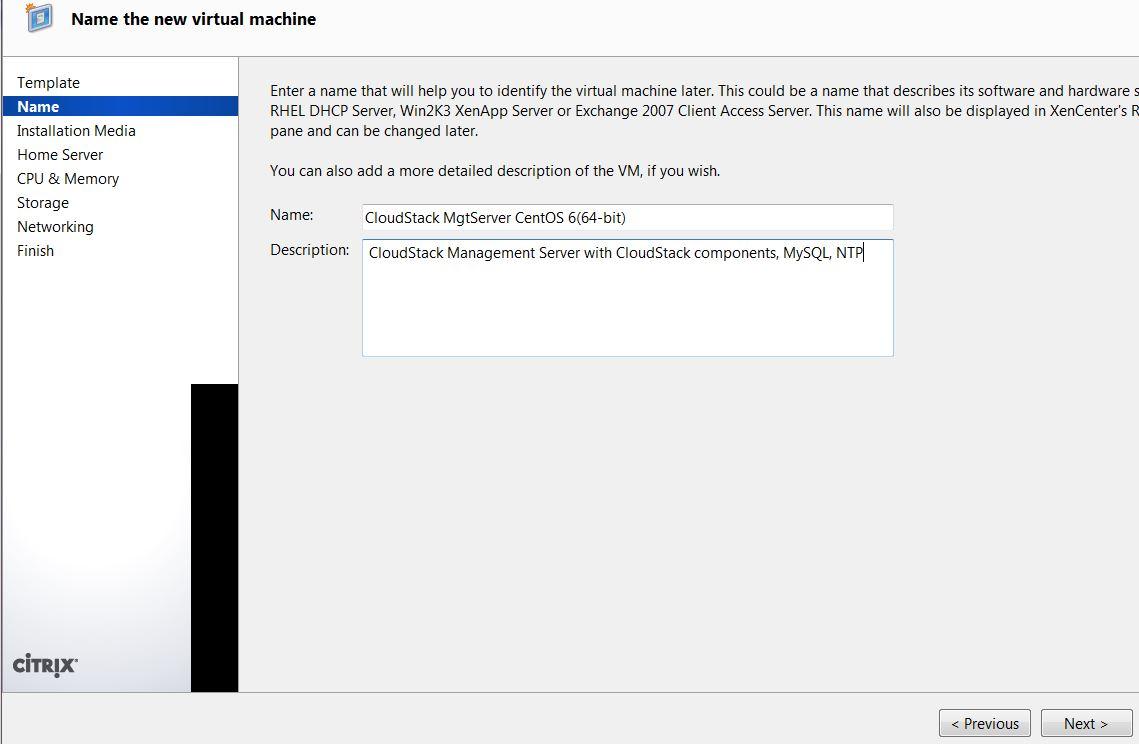
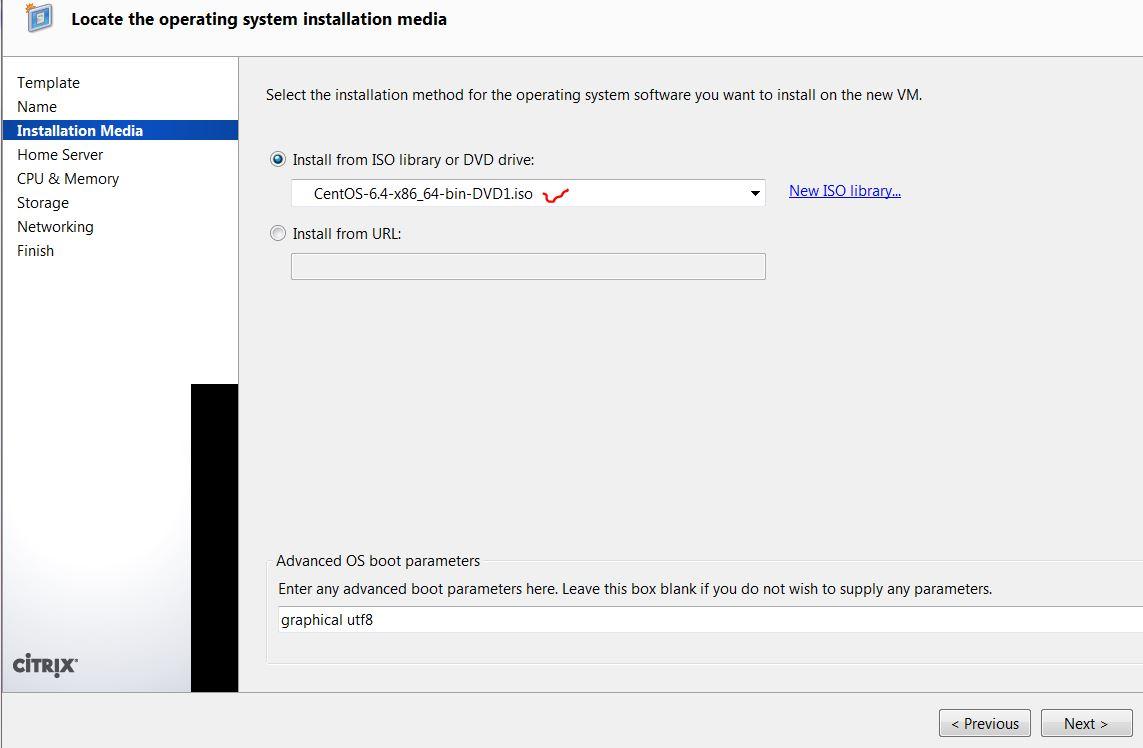
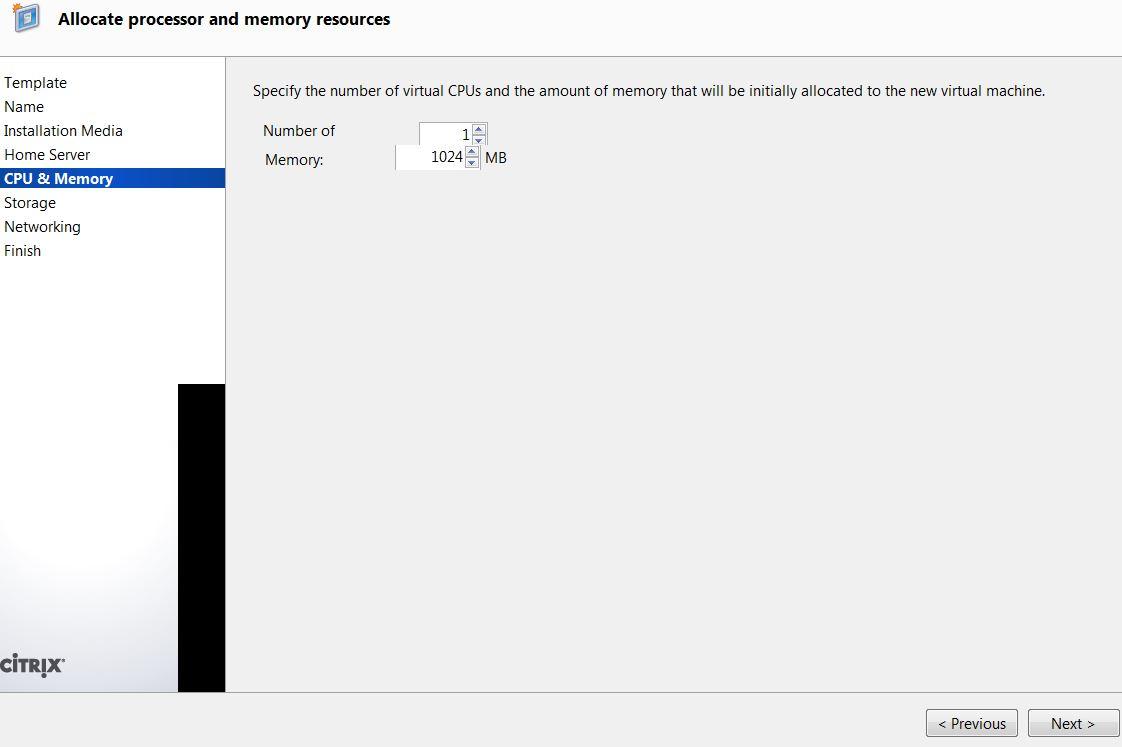
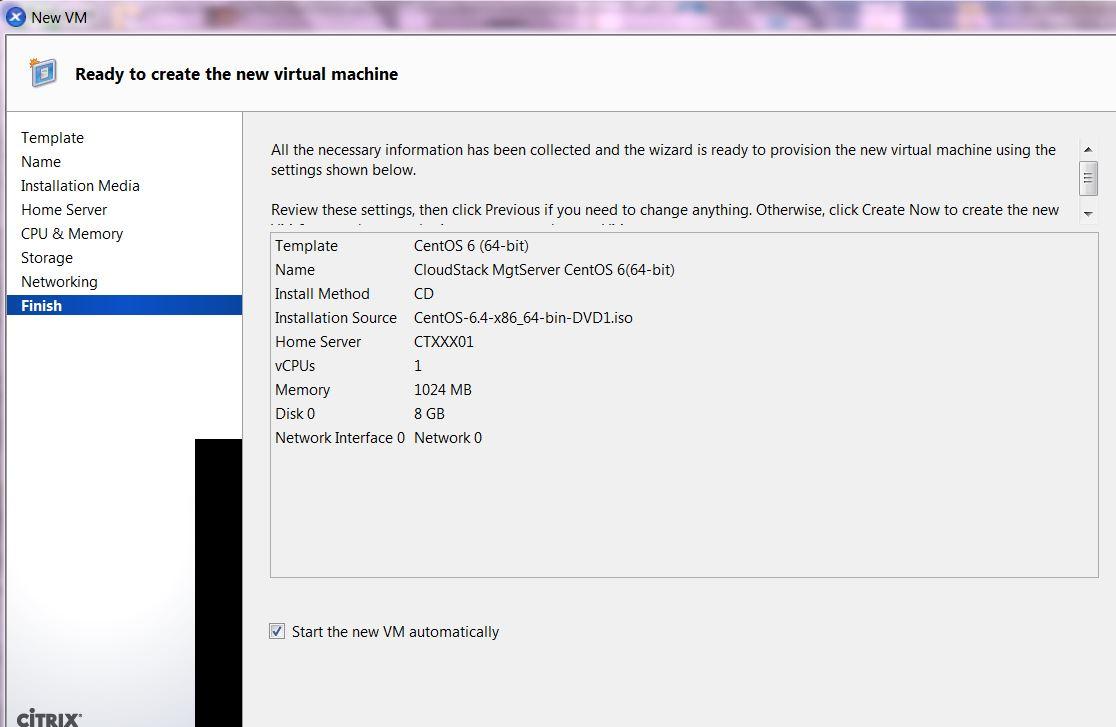
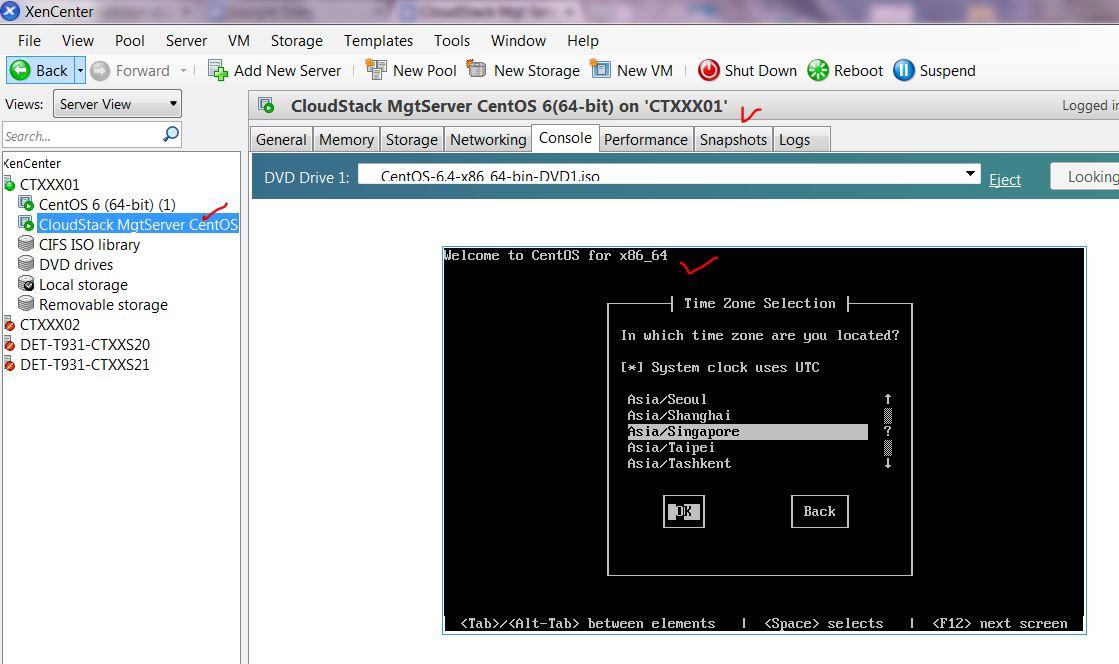
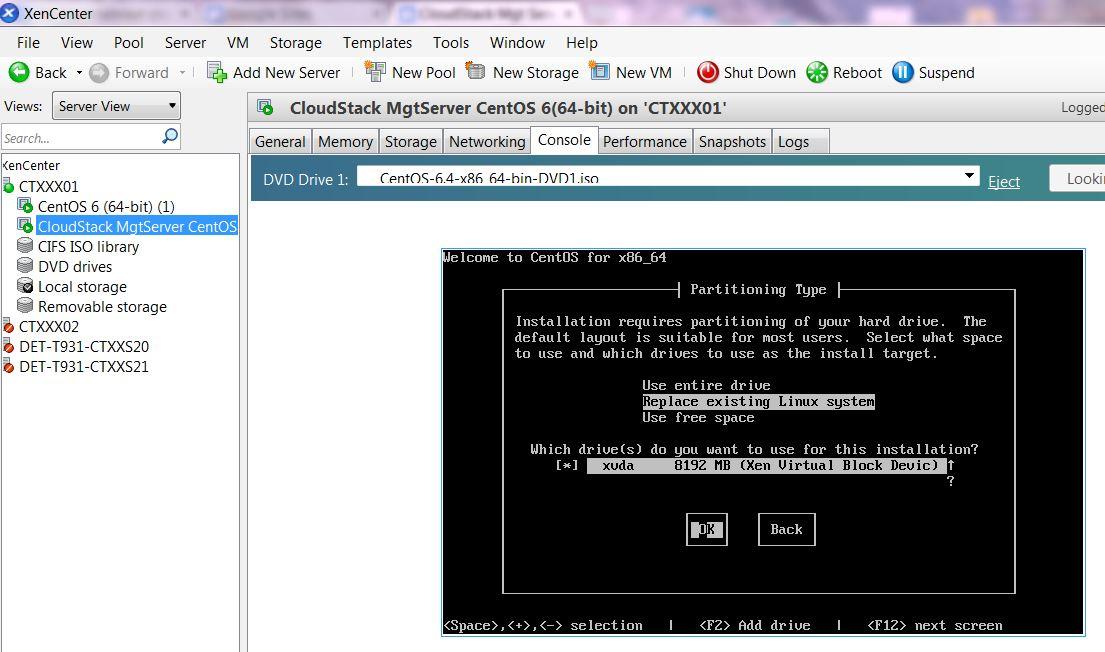
Step1: Install CentOS VM on Xen-In-Xen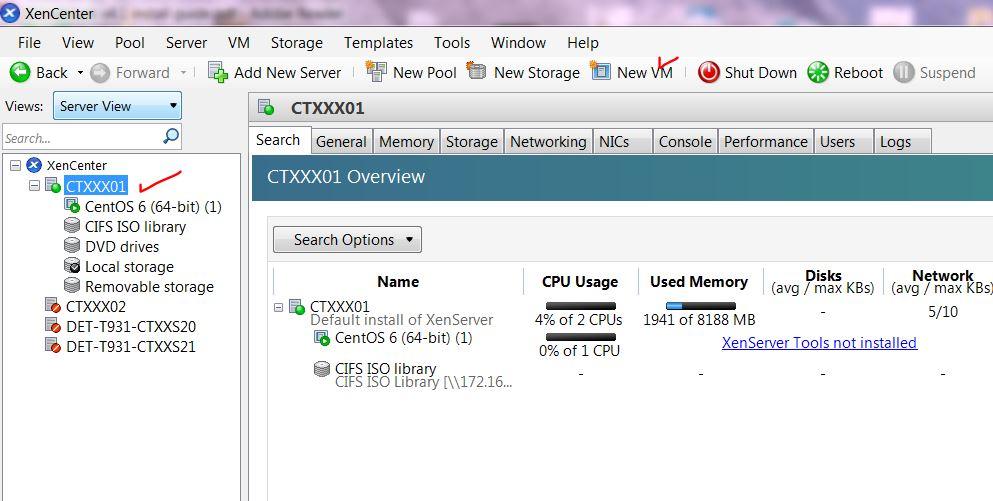

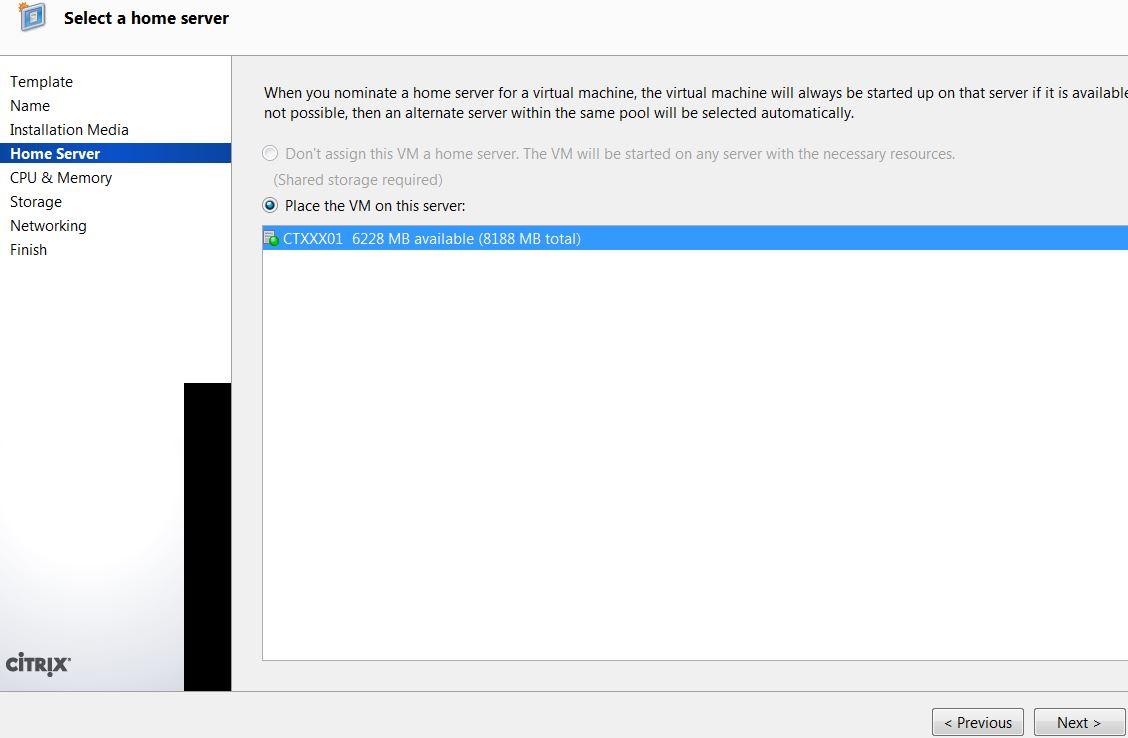
 WARNING: failure to provision sufficient HDD capacity will result CSMS not functioning, procedures to mitigate lack of HDD capacity post installation can be found here.
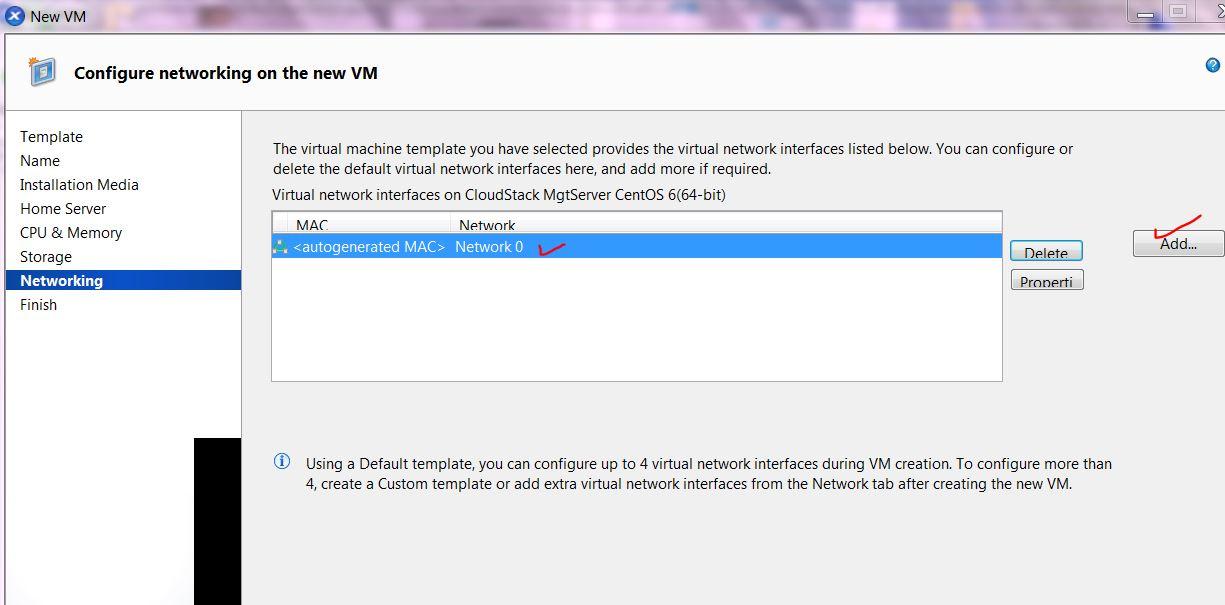

WARNING: failure to provision sufficient HDD capacity will result CSMS not functioning, procedures to mitigate lack of HDD capacity post installation can be found here.
Step2: Perform preliminary config on to the newly created CentOS VM
This step is necessary to perform preliminary configurations for CSMS on CentOS, besides SSH, it is possible to use XenCenter to do the same.
#update
yum update
#install dns utils
yum install bind-utils
#disable media in cd
yum --disablerepo=c6-media check-update
#install ntp
yum install ntp
#add the CloudStack repository
touch /etc/yum.repos.d/cloudstack.repo
#edit cloudstack.repo
[cloudstack]
name=cloudstack
baseurl=http://cloudstack.apt-get.eu/rhel/4.2/
enabled=1
gpgcheck=0
Step3: install & config MYSQL
# install mysql server
yum install mysql-server
#edit mysql
nano /etc/my.cnf
[mysqld]
innodb_rollback_on_timeout=1
innodb_lock_wait_timeout=600
max_connections=350
log-bin=mysql-bin
binlog-format = 'ROW'
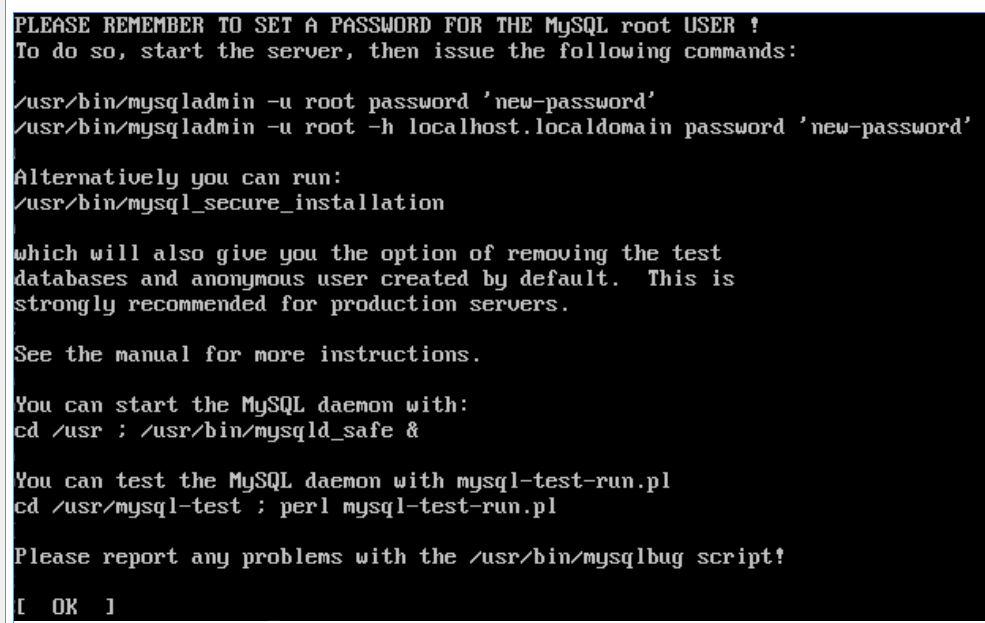
#start mysql daemon
service mysqld start
#stop mysql daemon
service mysqld stop
#secure mysql install on centos
mysql_secure_installation
#check selinux
rpm -qa | grep selinux
#set permissime selinux
nano /etc/selinux/config
SELINUX=permissive
#start permissive selinux without reboot
setenforce permissive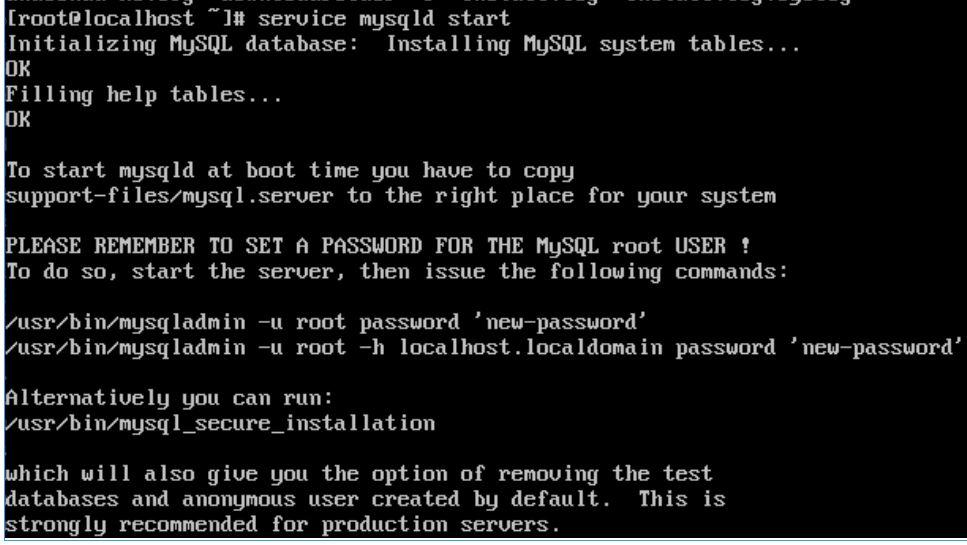


Step4: Install & config NFS
#install the nfs utils
sudo yum install nfs-utils
#create folder to store pri and secondary, follow cloudstack terminology
mkdir -p /export/primary
mkdir -p /export/secondary
#edit etc/exports to use new dir created as NFS exports
nano /etc/exports
/export *(rw,async,no_root_squash,no_subtree_check)
#export the dir for pri and sec sto
exportfs -a
#edit nfs conf for ports to be use by NFS
nano /etc/sysconfig/nfs
#take out comment for
LOCKD_TCPPORT=32803
LOCKD_UDPPORT=32769
MOUNTD_PORT=892
RQUOTAD_PORT=875
STATD_PORT=662
STATD_OUTGOING_PORT=2020
Step5: Setup Firewall Rules for NFS
#edit acl in iptables
nano /etc/sysconfig/iptables
#add rules for NFS to use port at beginning of INPUT chain.
#network use 172.16.89.0/24; the DHCP range in XenInXen network
-A INPUT -s 172.16.89.0/24 -m state --state NEW -p udp --dport 111 -j ACCEPT
-A INPUT -s 172.16.89.0/24 -m state --state NEW -p tcp --dport 111 -j ACCEPT
-A INPUT -s 172.16.89.0/24 -m state --state NEW -p tcp --dport 2049 -j ACCEPT
-A INPUT -s 172.16.89.0/24 -m state --state NEW -p tcp --dport 32803 -j ACCEPT
-A INPUT -s 172.16.89.0/24 -m state --state NEW -p udp --dport 32769 -j ACCEPT
-A INPUT -s 172.16.89.0/24 -m state --state NEW -p tcp --dport 892 -j ACCEPT
-A INPUT -s 172.16.89.0/24 -m state --state NEW -p udp --dport 892 -j ACCEPT
-A INPUT -s 172.16.89.0/24 -m state --state NEW -p tcp --dport 875 -j ACCEPT
-A INPUT -s 172.16.89.0/24 -m state --state NEW -p udp --dport 875 -j ACCEPT
-A INPUT -s 172.16.89.0/24 -m state --state NEW -p tcp --dport 662 -j ACCEPT
-A INPUT -s 172.16.89.0/24 -m state --state NEW -p udp --dport 662 -j ACCEPT
#restart ip routing to activate the acl
service iptables restart
service iptables save
Step6: Install & config CloudStack4.2 management server
#install cloudstack management
yum install cloudstack-management
#download vhd-util for XenServer only
#loc is /root/downloadFolder/vhd-util
curl -o vhd-util "http://download.cloud.com.s3.amazonaws.com/tools/vhd-util"
#copy to
cp vhd-util /usr/share/cloudstack-common/scripts/vm/hypervisor/xenserver
#setup db to be used with cloudstack with “root:password”
cloudstack-setup-databases cloud:password@localhost --deploy-as=root:password
#chk db log
/etc/cloudstack/management/db.properties
#start the mgt server
cloudstack-setup-management
#stop the mgt server
#if required to stop#service cloudstack-management stop
#start mgt server agent
service cloudstack-agent start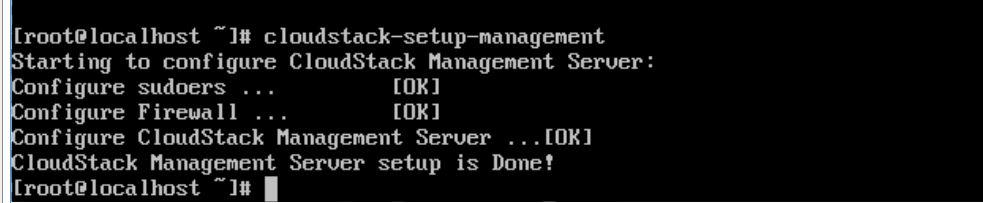

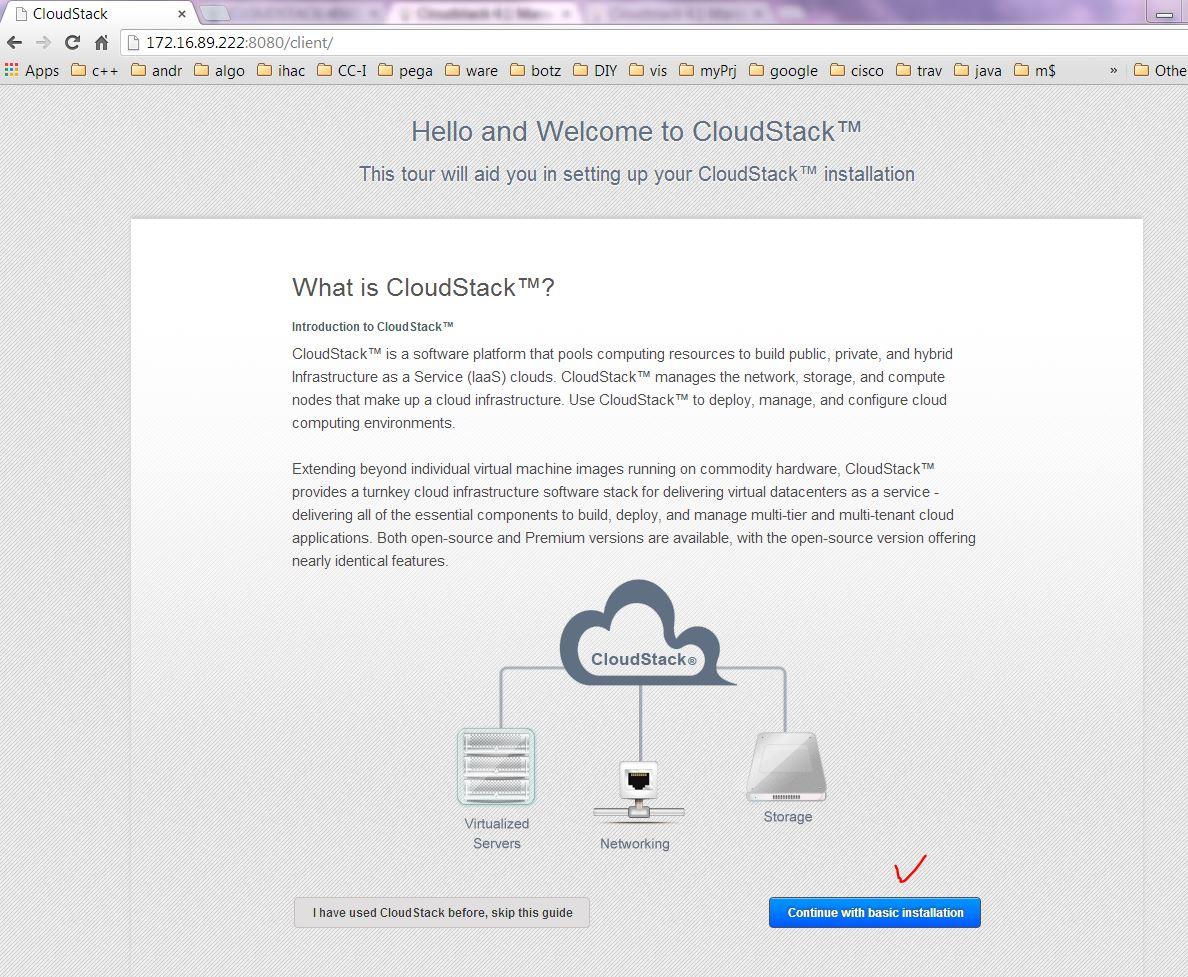
Step7: Check CloudStack up status via login portal
Login with the configured username and password but do not provision any VM yet.
Step8: Config & mounting of NFS on a separate host of XenServer aka Xen-In-Xen.
#make dir to mount nfs shares on the client eg hypervisor host
mkdir /primarymount
mount -t nfs 172.16.89.211:/export/primary /primarymount
#un-mount only if needed
umount /primarymount
#chk port mapper for nfs eg 662
/usr/sbin/rpcinfo -p
#restart nfs on NFS server only if needed
service nfs restart
#restart portmapper only if needed
service portmap restart
#restart nfs on NFS server(mgtserver) for client(hypervisor)
##when no mount shown from hypervisor
service nfs restart
#on client hypervisor chk nfs mounts
/etc/init.d/rpcbind start
#on client eg hypervisor chk rpc
rpcinfo -p 172.16.89.211
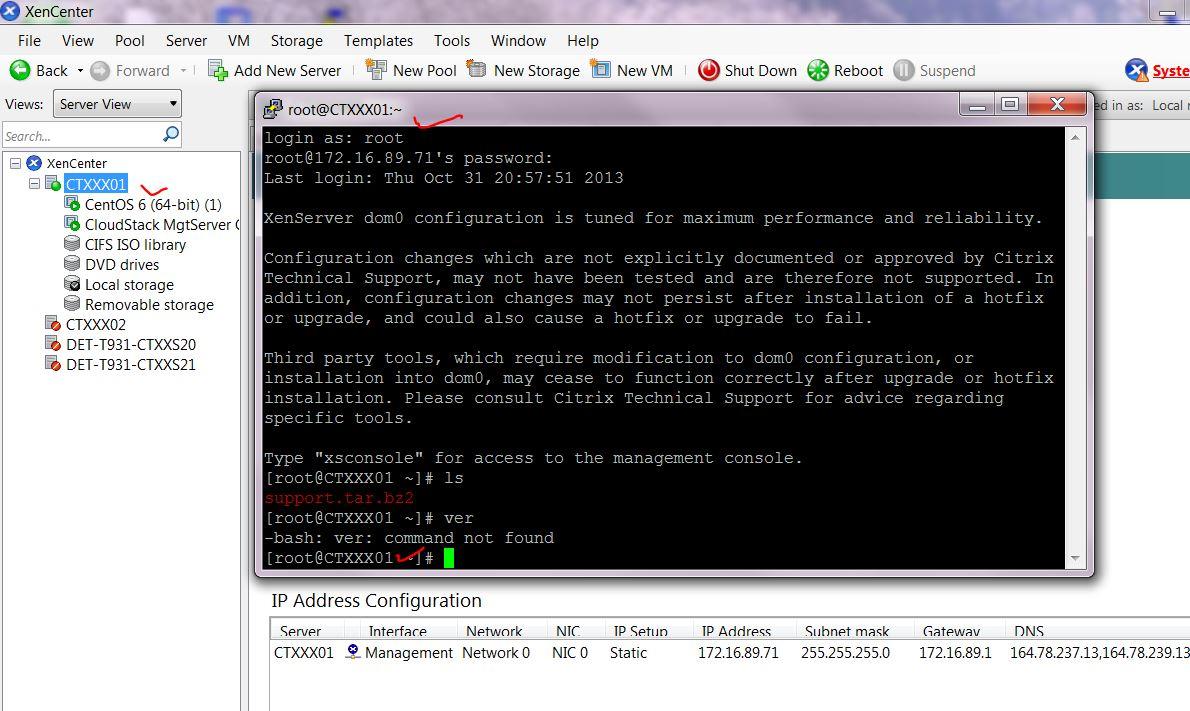
On separate XenServer e.g CTXXX02


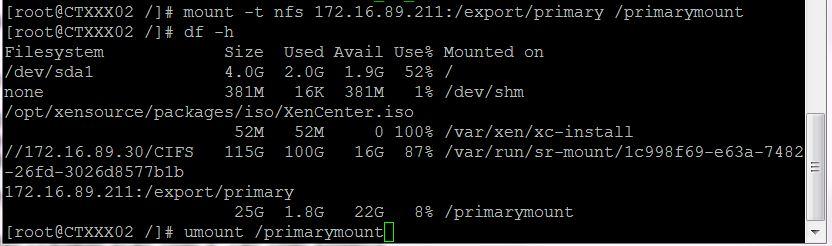
Note the difference in HDD capacity from the above 2 screenshots.
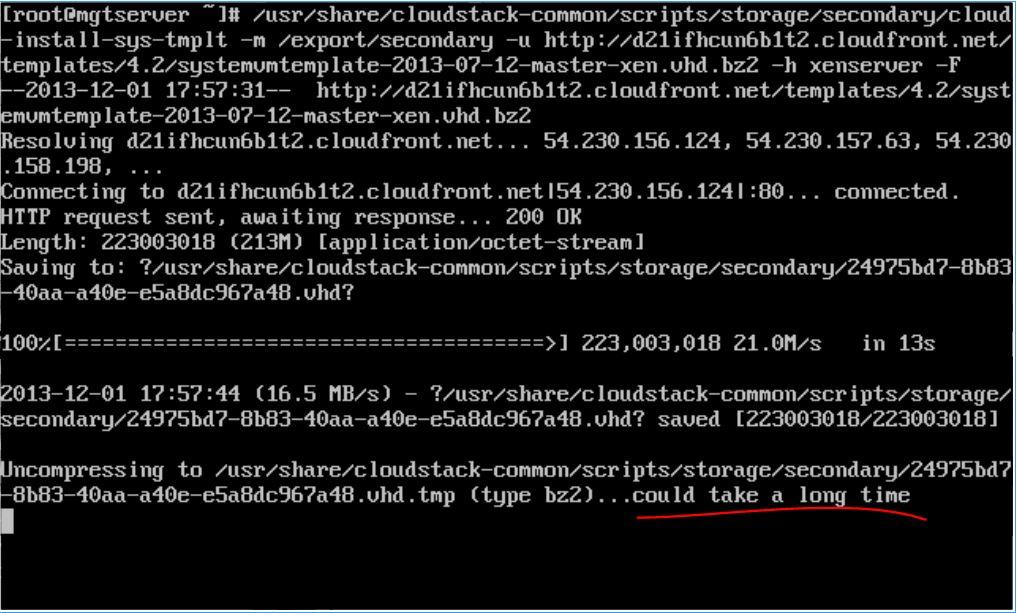
Step9: Download and prepare virtual machine template
##check mysqld and cloud mgt started at every reboot.
#prepare VM template
#path different from ori docs
#template script store here /usr/share/cloudstack-common/scripts/storage/secondary/
#/export/secondary is the NFS share mount point for client
#this step take 5gb and 30min
/usr/share/cloudstack-common/scripts/storage/secondary/cloud-install-sys-tmplt -m
/export/secondary -u http://d21ifhcun6b1t2.cloudfront.net/templates/4.2/systemvmtemplate-2013-07-12-master-xen.vhd.bz2 -h xenserver -F
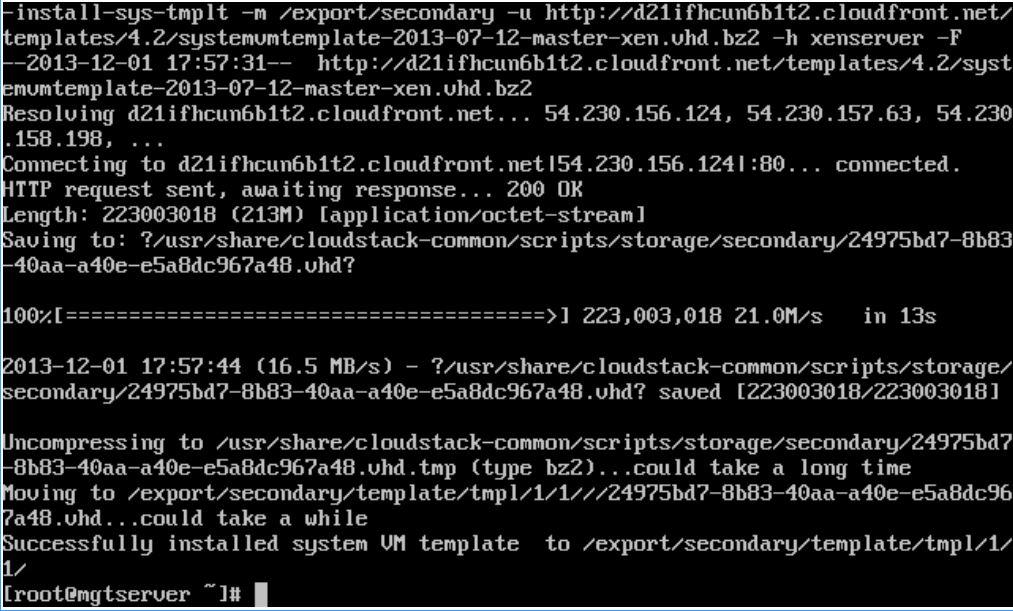
Congratulations! CloudStack4.2 with XenServer6.2 is now installed and ready for subsequent configuration to provision VMs.

No comments:
Post a Comment